
Sometimes you need to make some maintenance to your computer, and today I going to show you how to change the PSU of your computer.
Why are you changing the PSU?
As I told you on the previous post on the blog, I have change my graphic card and when I try to play any game, the graphic card requires a lot of power and the computer reboots due to the overload on the PSU.
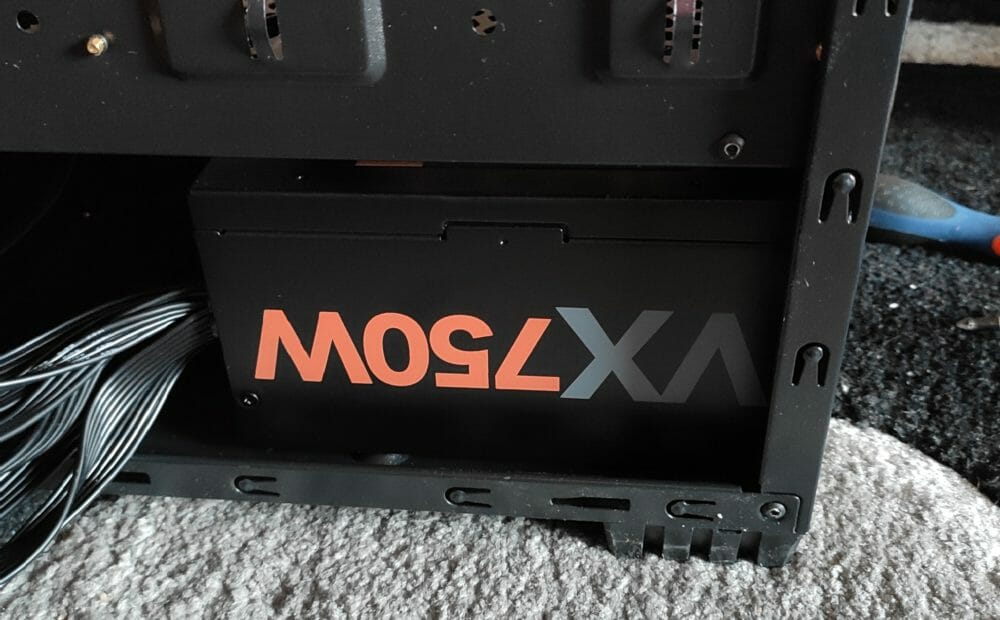
The graphic card requires a 650W PSU, and I had a 600 W one, so due to the need of change I prefer to take one more powerful. I choose the Urano VX 750W because I have seen a lot of good reviews and fits in the budget.
This PSU has the following connectors:
- ATX –> 1
- EPS –> 1
- SATA –> 6 (3 + 3)
- PCI Express –> 2 of type 6 + 2
- MOLEX –> 3
Any tip before doing anything?
- Unplug the electrical wire from the PSU and wait some time before doing anything with the PSU.
- Do not touch any component inside the PSU.
- Try to do not drop any liquid inside the PSU 😛
- Take it easy and do it with calm.
Step1: Disconnect everything from the old PSU and take it out
Unplug any cable that going to the motherboard, hard disks, graphic card, etc.
Do not disconnect any cable from any fan to the motherboard directly, like the processor one or any other fan that is controlled by the motherboard.
The next step, once all cables are released, it to take the old PSU out of the computer box. Once finished, you have the half of the way done 🙂
Step 2: Put the new PSU in the computer box
In my case, the PSU is located on the bottom of the box, it is very important to place the fan of the PSU looking bottom too, because when the PSU get warmer the fan will take fresh aire from the bottom of the box, otherwise the fan will introduce hot air from the inside of the computer box to the PSU, make it warmer too and maybe causing a reboot of your computer.
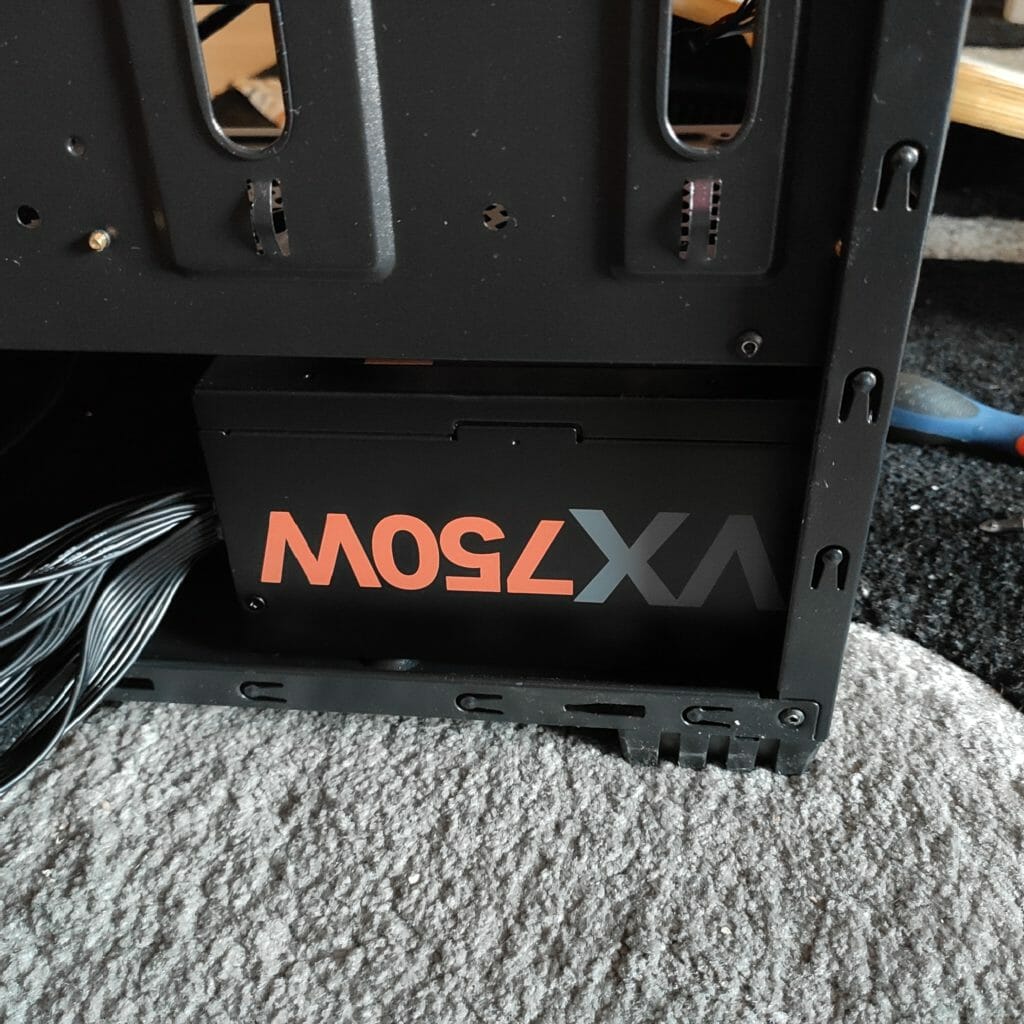
Once the PSU is correctly placed, screw it to the computer box.
Step 3: Plug all the cables in again
All the connectors have a single way of plug in, so you can only plug them in on the right way. Think a little bit on how to organize the wires on the computer.
Processor connector (EPS)
This cable provides energy to the computer processor.
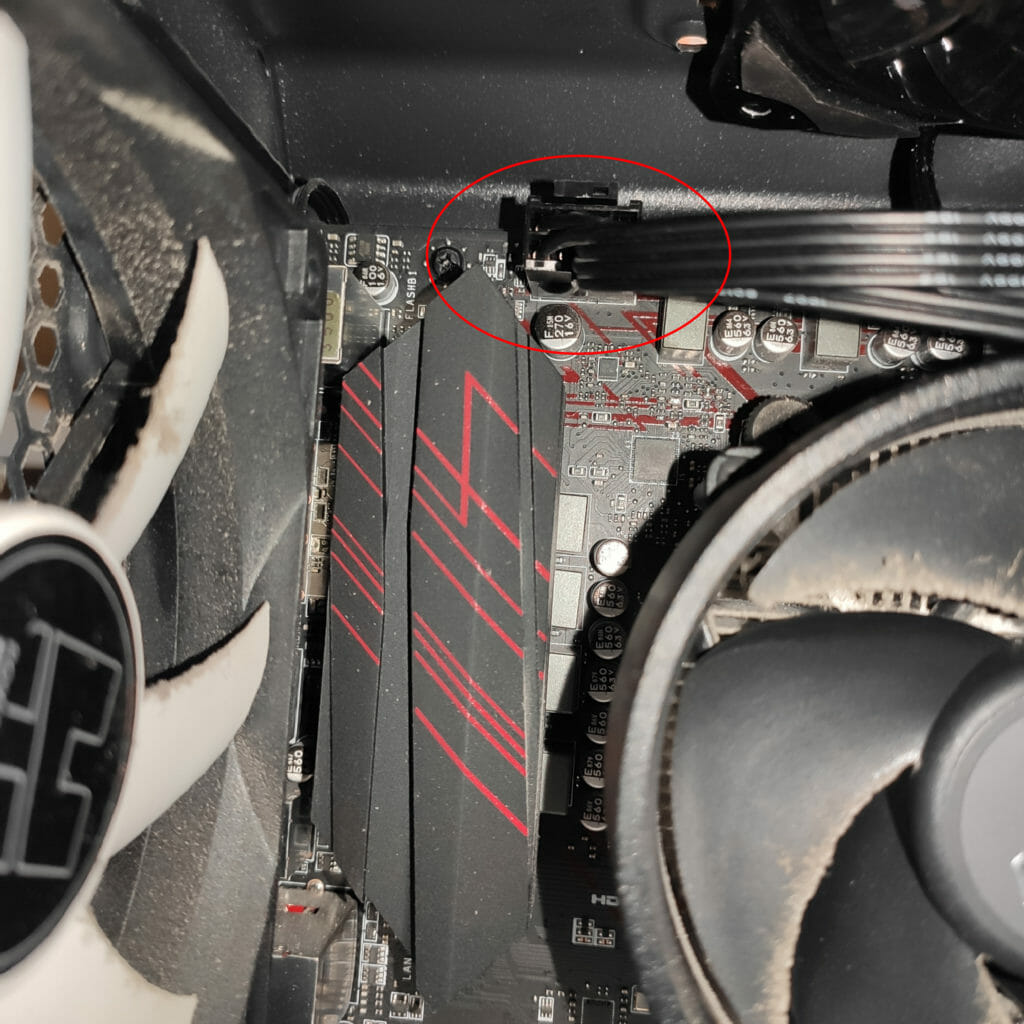
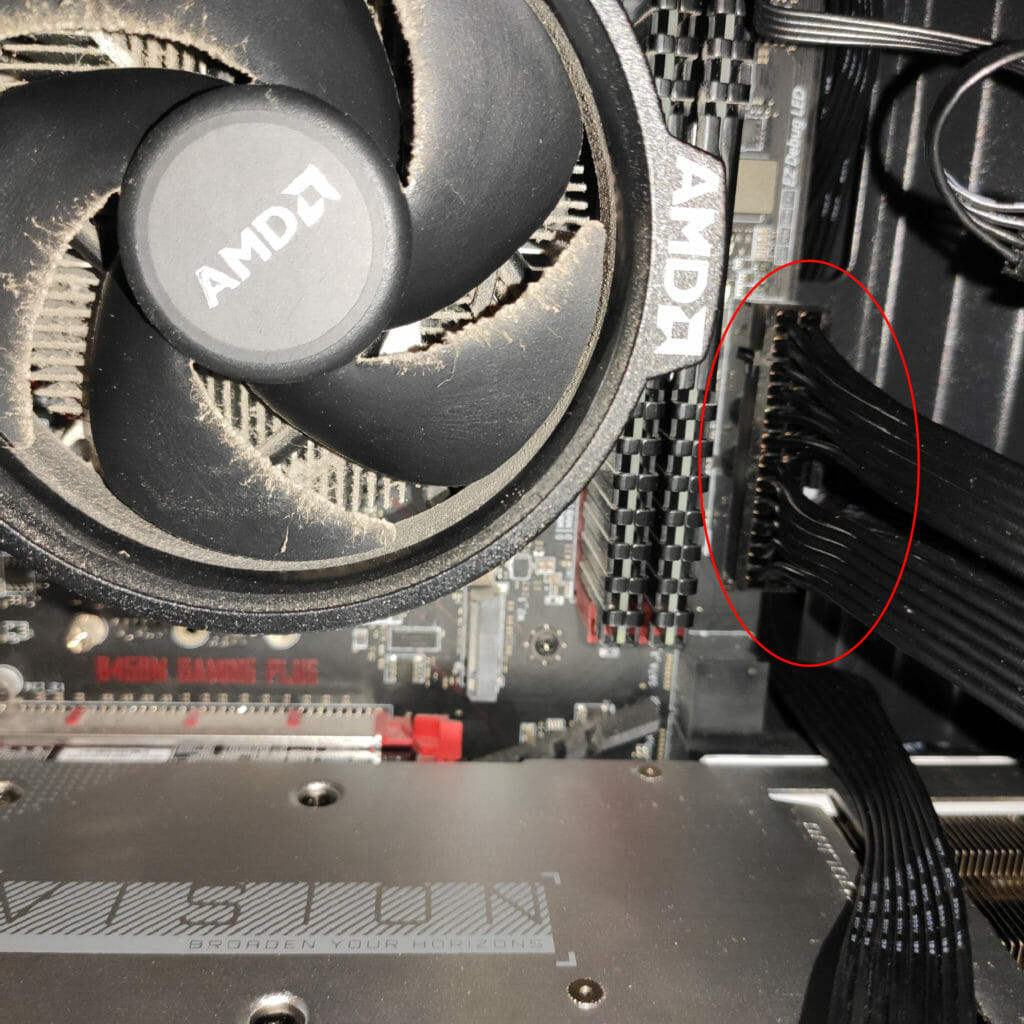
ATX Connector
This other set of wires provide energy to the motherboard and the fans that are connected to it, like the processor one.
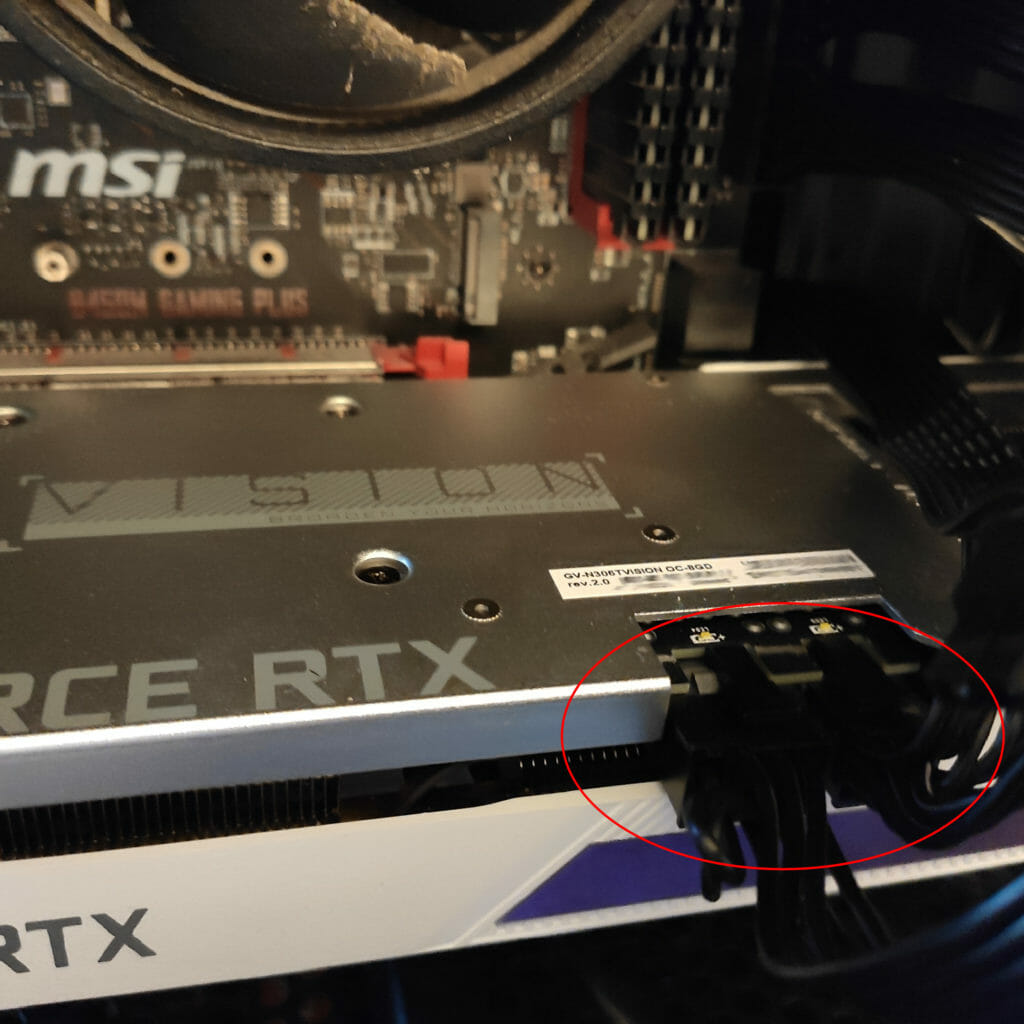
Grpahic Card
If your graphic card need extra energy supply you must connect to ir the PCI Express plugs, this PSU comes with two set of 6+2 PCI Express connectors. In my case the graphic card needs one of 8 pins and another one of 6 pins.
Rest of wiring
You must connect the rest of the cables:
- Hard drive SATA
- Fans with MOLEX plugs
- Box´s LEDs with MOLEX connector
Very important things you must check before turn on the computer
- Check that all the connectors are firmly plugged
- Check the connectors of the fans that are connected directly to the motherboard, like the processor one, and check that are not released after changinf the wiring.
The link to the PSU is an affiliate link of Amazon, so if you buy the PSU trough this link you will pay the same and you are collabotaing with the blog.