
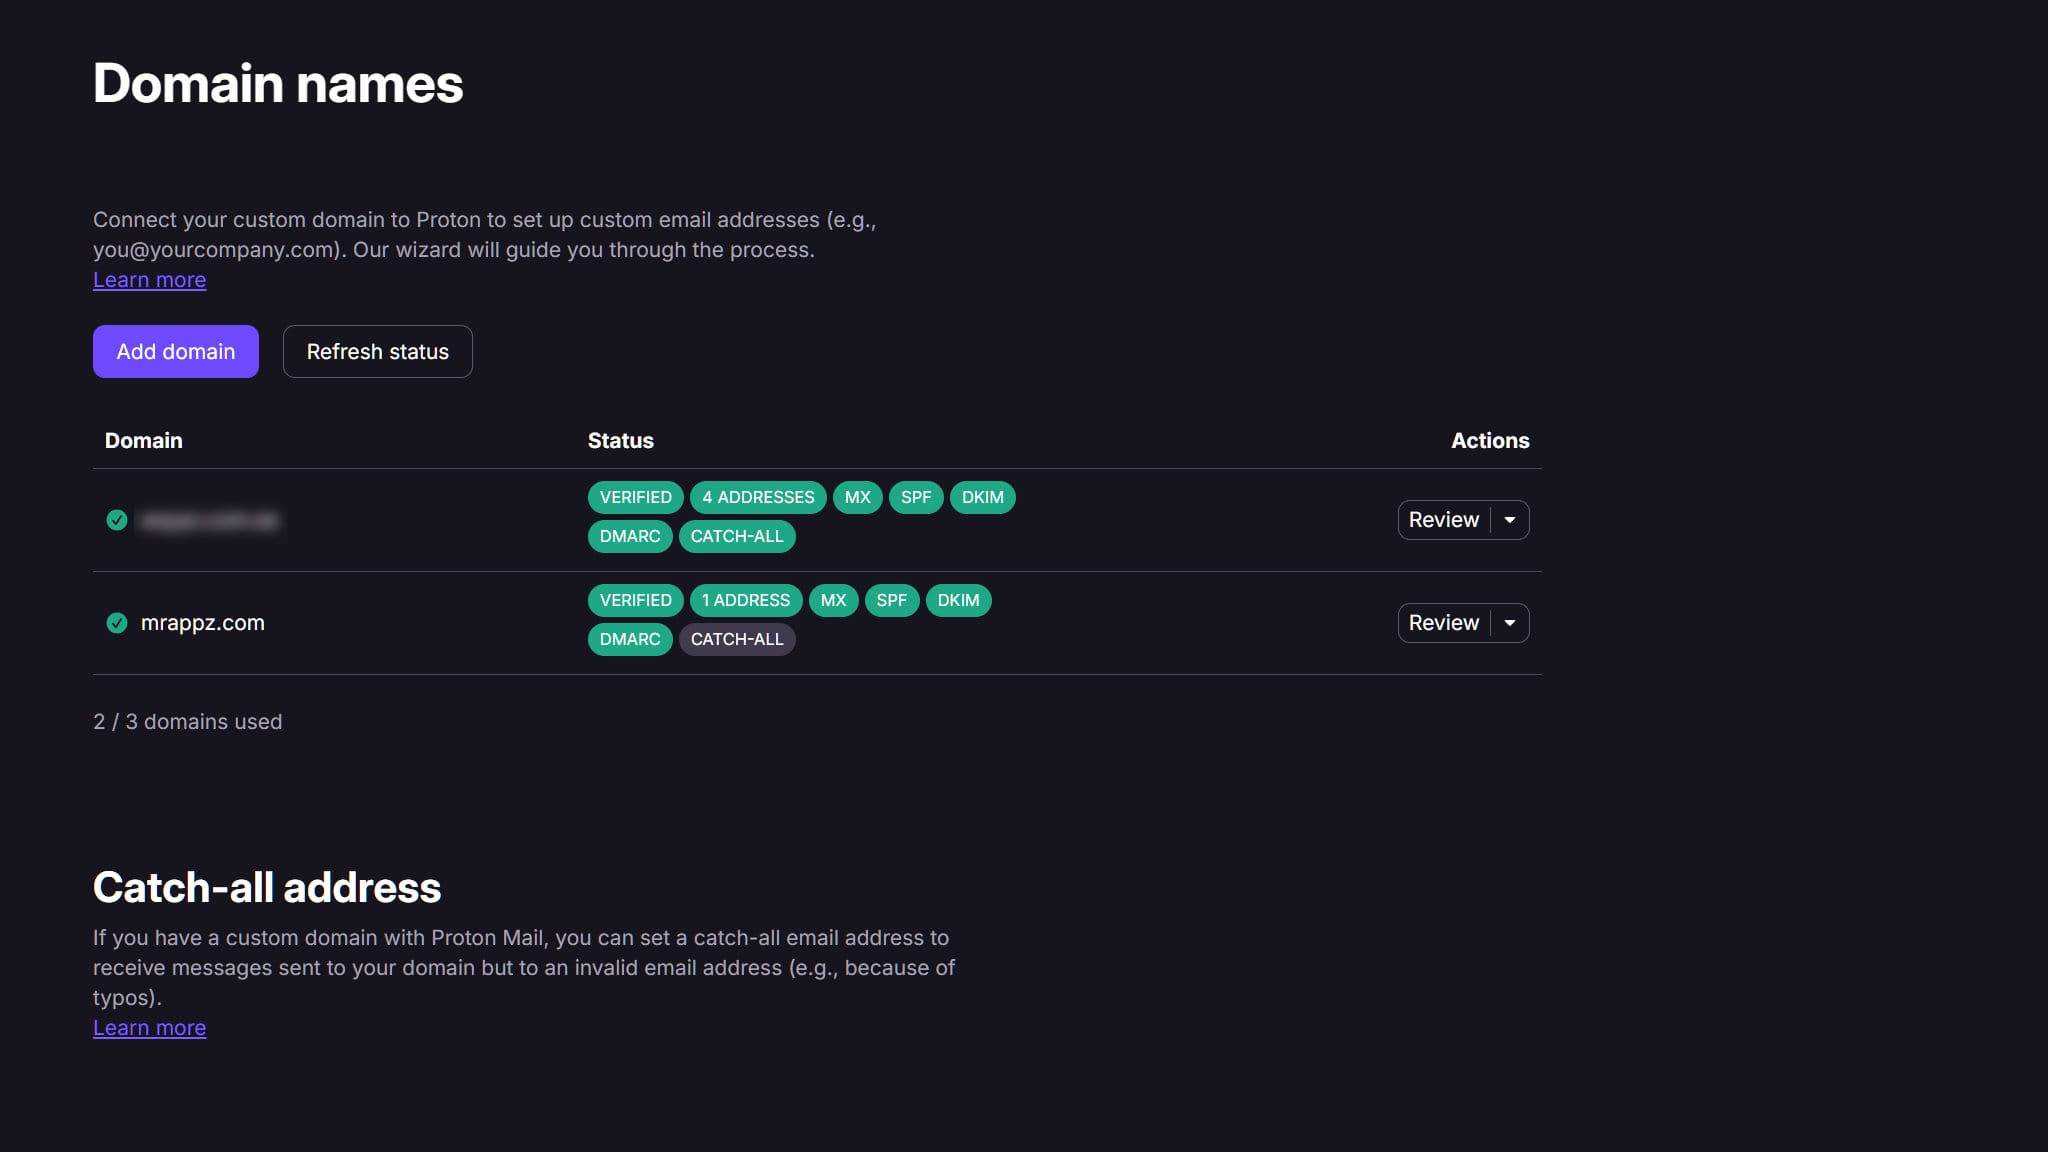

Having email on your own domain changes how people perceive your brand. It goes from [email protected] to [email protected]. And if you also want end-to-end encryption and genuine privacy, to set up ProtonMail custom domain is one of the best decisions you can make.
Google Workspace and Microsoft 365 are excellent choices for many businesses. But if your priority is privacy and encryption, ProtonMail offers something different: your emails encrypted on Swiss servers, open source and ad-free. In this guide, I’ll walk you through it step by step — no unnecessary jargon, but no loss of technical depth either.
Why choose ProtonMail for your domain
Imagine your email as a letter. Most providers send it in a standard envelope: it works perfectly, but the mail carrier can read it if they choose to. ProtonMail puts it in a safe: not even their own engineers can decrypt it without your key.
Based in Switzerland, ProtonMail offers end-to-end encryption, verified open-source code, and zero ad tracking. For a personal blog, a freelancer, or anyone who values their privacy, it’s a very solid option. And with the Unlimited plan, you can configure up to 3 custom domains with shared storage.
Requirements to set up ProtonMail custom domain
- A registered domain (you can register one on Cloudflare or your usual registrar for less than €12/year)
- Access to your domain’s DNS panel (Cloudflare, OVH, Namecheap…)
- A ProtonMail account with a Plus or Unlimited plan
Step 1: Add the domain in ProtonMail
Log into your ProtonMail account, go to Settings → Proton Mail → Domain names → Add domain. Enter your domain (e.g. mycompany.com) and click Next. ProtonMail will generate all the DNS records you need to configure:
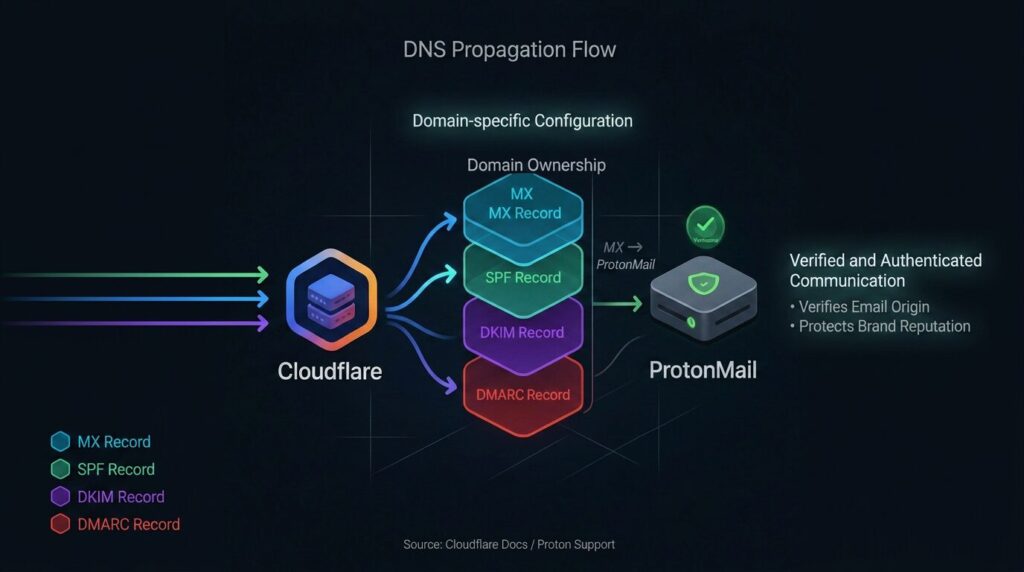
- MX record: so incoming email reaches ProtonMail
- SPF record (TXT): to authorize ProtonMail to send on your behalf
- DKIM records (CNAME): to cryptographically sign your outgoing emails
- Verification record (TXT): to prove you own the domain
Step 2: Configure DNS records
Go to your DNS provider’s panel. If you use Cloudflare, you’ll have an added advantage: DNS propagation is nearly instant. Here are the typical values ProtonMail will ask for:
Verification Record (TXT)
ProtonMail gives you a unique code like protonmail-verification=abc123.... You add it as a TXT record on your domain to prove ownership. Without this step, ProtonMail won’t let you proceed.
MX Records (incoming mail)
You need two MX records. The first points to mail.protonmail.ch with priority 10, and the second to mailsec.protonmail.ch with priority 20. The higher-priority server (10) receives mail first; the priority 20 server acts as a backup if the primary is unavailable.
SPF Record (TXT)
The SPF record authorizes ProtonMail to send emails from your domain. It’s essentially an allowlist of permitted servers. The value is:
v=spf1 include:_spf.protonmail.ch ~all
The ~all at the end means “softfail”: if someone sends from an unauthorized server, it’s flagged as suspicious but not rejected. This is recommended while you verify everything works.
DKIM Records (CNAME)
ProtonMail generates three CNAME records for DKIM, which sign your outgoing emails with a cryptographic key. The receiving server verifies that signature by checking your DNS. If it matches, the email is legitimate. The three selectors are protonmail._domainkey, protonmail2._domainkey, and protonmail3._domainkey, each pointing to a CNAME on Proton’s servers.
Important: If you use Cloudflare, make sure DKIM CNAMEs are in “DNS Only” mode (orange toggle off). They should not go through the proxy, or DKIM verification will fail.
Step 3: Verify in ProtonMail
Go back to ProtonMail and click “Verify”. If everything is correct, each record will turn green. If any fail, check that you copied it exactly: no extra spaces, no misplaced quotes, no invisible characters. DNS propagation in Cloudflare is usually almost instant, but with some providers it can take up to 48 hours.
Step 4: Create your email accounts
Once the domain is verified, go to Settings → Proton Mail → Identity and addresses → Add proton address and create the accounts you need. With the Unlimited plan you can create up to 15 accounts within the total shared storage, but linked to the main mailbox. If you want to use it for business, with individual email addresses and storage, look prices here.
The step almost nobody does: DMARC
To set up ProtonMail custom domain properly doesn’t end with DKIM. DMARC is still missing — the policy that tells receiving servers what to do if someone tries to spoof your domain. Without DMARC, your domain is vulnerable to spoofing. It’s a TXT record published at _dmarc.yourdomain.com:
v=DMARC1; p=quarantine; pct=100; rua=mailto:[email protected]
Start with p=quarantine and pct=100. Emails that fail authentication will go to spam. You can monitor DMARC reports from the Cloudflare dashboard to confirm everything passes correctly. Once you’ve gone weeks without failures, move to p=reject for maximum protection.
What about BIMI? The cherry on top
Once you have SPF, DKIM and DMARC working, you can add BIMI so your logo appears next to your emails in compatible inboxes. Without a VMC certificate (which requires a registered trademark and is quite expensive), the logo will display on some providers. But it’s free to set up and costs nothing to maintain. I’ll write a complete BIMI guide soon.
Is it worth it over Google or Microsoft?
Google Workspace and Microsoft 365 are excellent tools with complete ecosystems: office apps, storage, video conferencing, team management. If you need all of that, they’re the logical choice.
ProtonMail doesn’t compete on productivity ecosystem. It competes on privacy. If your primary need is encrypted email, no ad tracking, and control over your data, ProtonMail shines where others can’t. It’s not better or worse — it’s different. And for many, that difference is exactly what they’re looking for.
Conclusion: privacy with your brand
To set up ProtonMail custom domain isn’t complicated if you follow the steps. The result: end-to-end encrypted email, with your brand, protected against spoofing, and where your data isn’t a product. All for less than the cost of a coffee per month.
Part of the content was created by AI, and reviewed by me.