
Today I am going to write about printed parts for Voron 2.1.
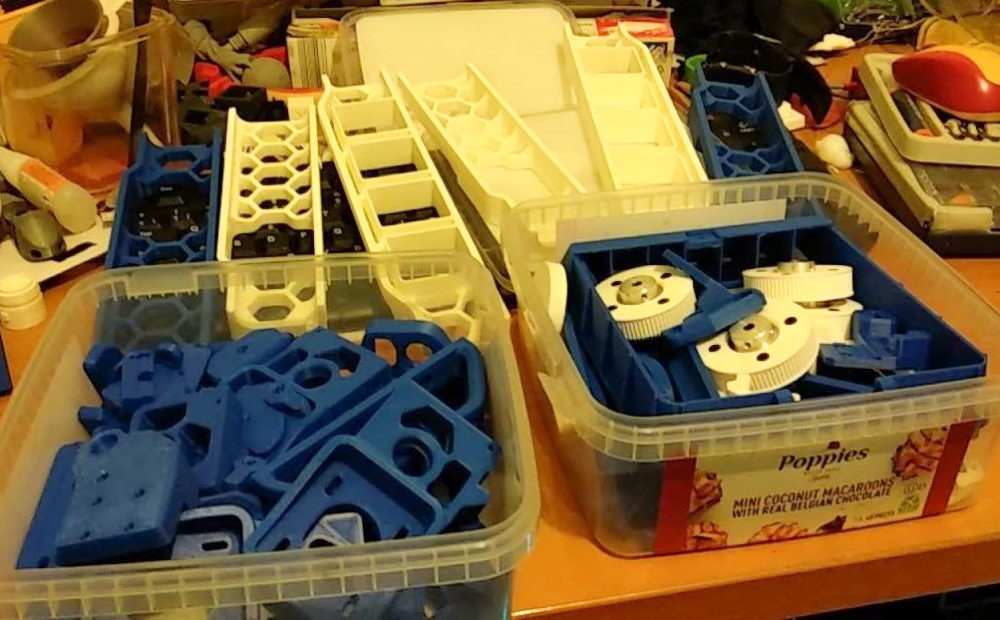
First of all, there are a lot of parts to be printed. It took me about 200 printing hours and almost 2,5 kg of filament.

What kind of material did you use?
I have printed the parts with improved PLA filament, Ingeo 870.
According to the manufacturer specifications, after one “baking” procedure, that you can make on your oven, the filament crystalize and have similiar properties to ABS.
I did not make the oven procedure, but I hope that the parts are good enough. I have used this material on the printed improvements made for Anet printer, and the behavior is excellent.
What about the printing parameters?
In general I print the parts with an infill between 40 and 50%, with a circular pattern, that gives the part very good mechanical properties.
As slicer I hace used Kisslicer, because is the one that brings me the best results on the parts finishing.
About the number of perimeters, I put wall thickness of 1,2 mm and 2,5 perimeters by layer. It means that in one layer it makes 2 perimeters and in the next layer it makes 3 perimeters, this is an option on Kisslicer.
About the temperature, as I use a hardened steel nozzle, the temperature transmission is worse if you compare with a brass one, so I must increase the nozzle temperature a lot. I have printed the parts at 218 ºC. I have obtained this temperature by using some temperature tower tests.
What are the mandatory printed parts?
First os all, you must know the bed size that you choose, because the bottom skirts are related to this size. For example, on the bottom skirts folder I have printes anyone that contains “350 mm spec” on their names.
Another critical thing is to print some tools that will help you a lot on the building of the printer:
- Tools/80T tool –> Mandatory to assembly the geared wheels for Z axis.
- Cutting Jigs –> Very important to make the shafts flat on some parts to put the pulleys on them.
- Rail installation guides –> Critical for mounting linear guides on the aluminium profiles.