
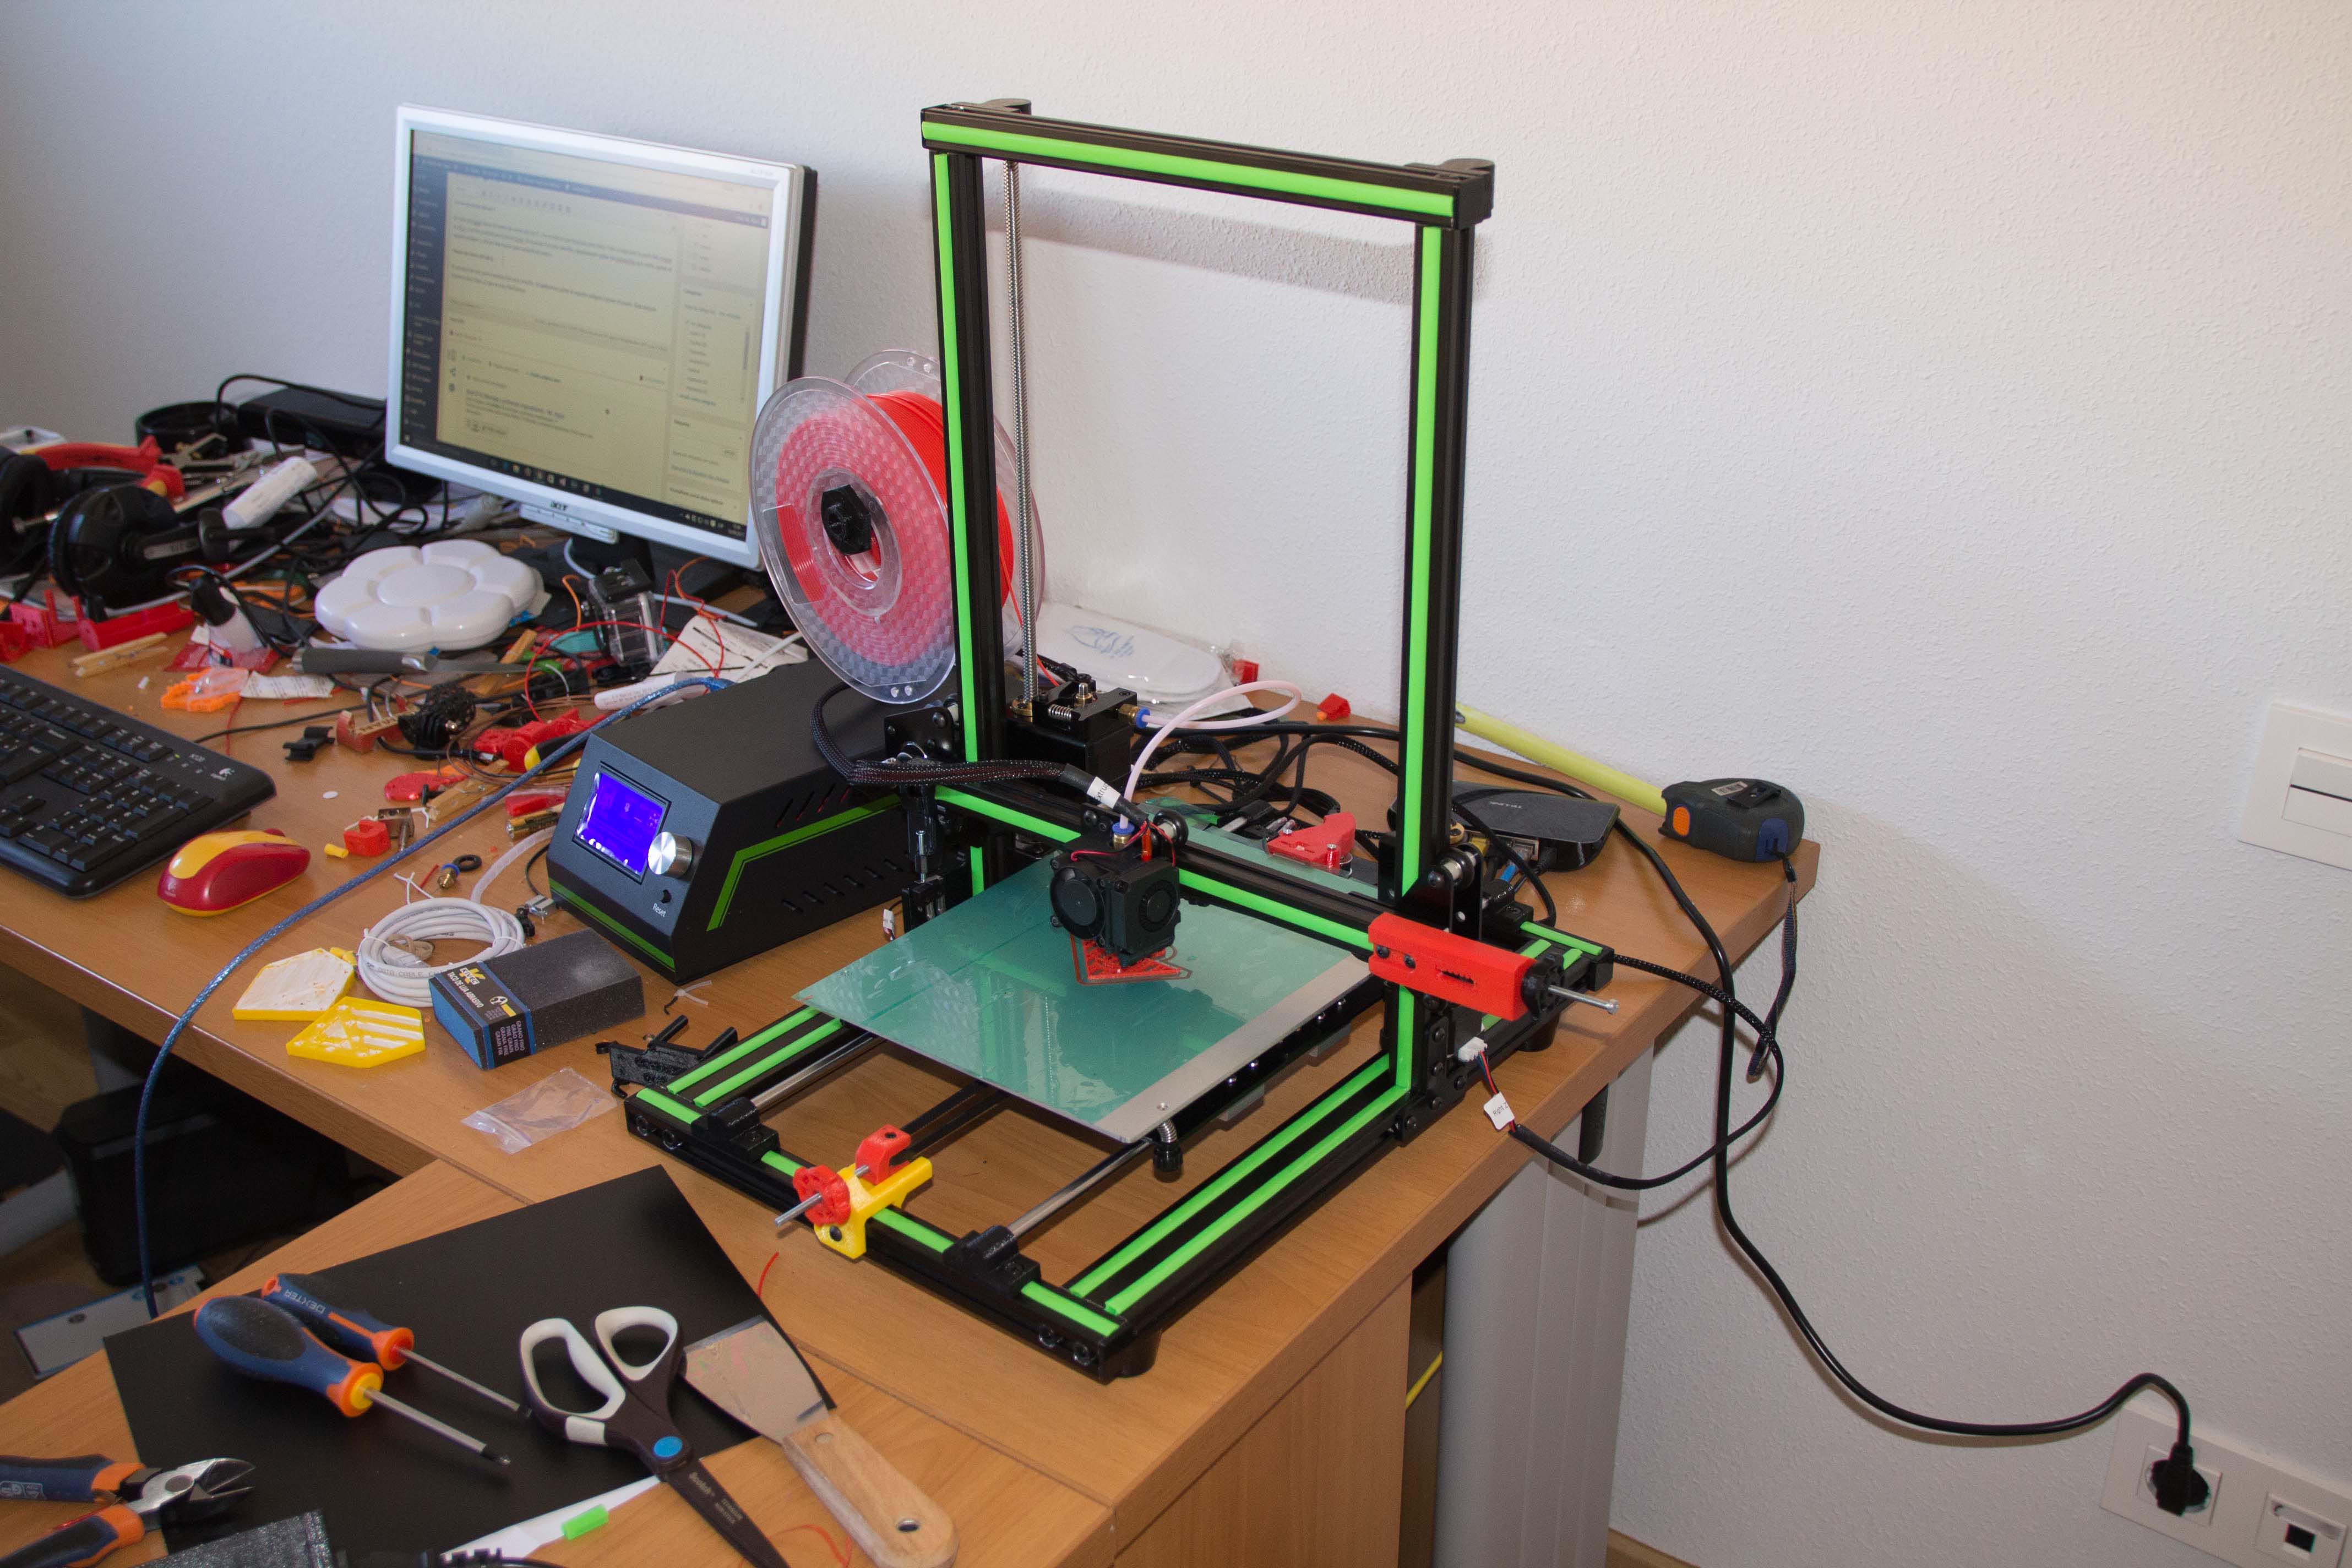
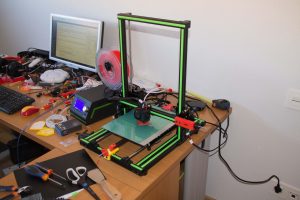
Finally Anet E10 has arrived!
The delivery date was the last planned day, 15 labour days from the purchase.
General assembly
The printer assembly is quite easy to do. It comes almost pre assembled but I had some problems because it was my first cartesian printer.
Twist of Z axis stepper motors plugs
As you can see on all the reviews, the connectors come looking inside the printer. To fix that, simply elevate the horizontal part of the frame and then unscrew a couple of screws, and then twist the motors in order to set the connectors outside.
Upper frame fitting
This part of the assembly took me some time, because is hard to understand some things of the cartesian printer when you are used to use a delta one. To make this step properly, simply move up Z axis enough to release the pression on the bottom part of the frame, in order to align the screws with the holes.
Improvements assembly for Anet printer
Belt locker for Y axis
As you can see on this post, one of the printed improvement was the belt locker for Y axis. Is very easy to mount, simply unscrew a couple of screws, cut a couple of bridles, put the printed part on its correct situation and then screw again the screws.
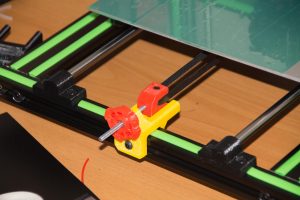
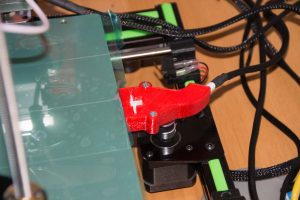
Y axis belt tensioner
On this other post we saw the belt tensioner for Y axis, and it works perfectly. I printed again the body part on PLA and it looks in a very patriotic way 🙂 The assembly was quite simple, remove the old support and put the new one using a nut to fix it to the frame.
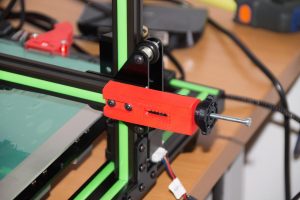
X axis belt tensioner
This part assembly was very easy too, as in the previous part, remove the old one and put the new one fixed by three nuts to the frame. This improvement works very well on the Anet, because apply the correct tension to the belt is effortless.
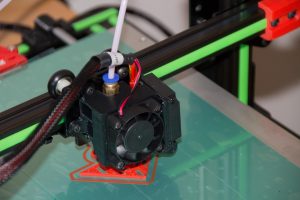
Fan shroud
This improvemnt works perfectly, but I think that the part where the layer fan is locked is too weak. Printed objects are almost perfect due to the perfect thermal shock.
Cable strain relief for hotbed
You only need a couple of M3x1.5 screws to put together the two parts.
Varibale Z axis endstop
As you can see on the older post, this improvement is composed of two parts. The first one substitutes to one metallic part that comes with the printer, in this case the assembly was not easy due to the T nuts that are inside the frame. The other one is mounted on the frame that supports the printer head. With these two parts is very easy to set the height of the printer and is very useful to calibrate the hotbed.


I have checked your page and i’ve found some duplicate content, that’s why
you don’t rank high in google, but there is a tool that
can help you to create 100% unique articles, search for; Boorfe’s tips unlimited content
Thank you for the advice 🙂